Pages

Tuesday, July 19, 2011

Tomatillos and Pintos

The moisture in the air today made the garden feel like a sauna. Our part of the world had heavy rainstorms last night, leaving behind a sweltering lush environment for plant growth. I hang my head in utter embarrassment at the sight of our garden plots. The plant growth includes weeds that have taken over the nicely spaced rows.What started out in the spring as perfect little straight rows, have become brambles of tangled growth.

Crops are still thriving.

Garden photography was a little tricky today. Everytime I moved the camera close for a clickety click, the lense would steam-up.

Tomatillos, hooray, grown from seed.


Pinto Beans,the pods have started to go from green to yellowish-pink.
I'm charmed by them.


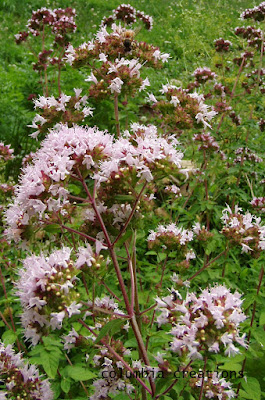
Never before have I allowed my oregano plants to flower and go to seed. The honey bees are glad to find the delicate pink blooms. The taste of their honey would be scrumptious, I wonder?

When the air cools down tonight, peppers will be harvested. Hot banana and Sweet banana. Someones canning pepper rings tonight, I guess!

Ah, bullshit on the weeds. It's too late now to catch up on two weeks of neglect. I plan to harvest the mighty goods as they come available and till the weeds under when I'm done.

Just waiting on the outdoors to give me a few days of humid free, breezy weather with temperatures in the mid- 70's, then I will be all over those pesky unsightly growths. Really, I will.


The main broccoli head has been harvested from most of the plants. These are side shoots, can you believe the size of these. Ususally, our broccoli gives small side shoots perfect for raw munching. These are large enough to divide up.

It ain't pretty. it's still rocking out. free food.

I just came home from a great time in Virginia, photographing other people's gardens. Even the mansions, with their hired gardening staff, had their share of unsightly areas. Photos soon to follow.


For now, a peppering I will go!

Friday, July 8, 2011

James Beard's Homemade Meat Balls

James Beard, a name well known by the foodie crowd, wrote and published his Complete Cookbook For Entertaining in 1954. There are 139 pages with 489 tested recipes, and well planned menus featuring everything from the simple to the more complex.


I had to laugh when I read this menu item on page 11, under luncheons for the bridge club;
Corn Bread
Buy your favorite corn bread mix and follow the directions.

It's funny to me, how the foodie snobs today would try to convince us that we should purchase some exotic blue corn meal or something of that sort. James Beard seemed quite content with taking the hassle out of it all and using a few shortcuts. Hmm Sandra Lee didn't invent this concept after all.

We really enjoyed the Homemade Meatball recipe on page 70.

Homemade Meat Balls (as written)

Combine 2 pounds ground pork with the same amount ground beef *, 1 cup bread crumbs, 1 tablespoon salt, 1 teaspoon freshly ground black pepper, 1 tsp. oregano, a pinch of tarragon, 1 teaspoon ground allspice, 1 teaspoon dry mustard, 3 eggs. Blend well and form into tiny balls. Sprinkle the balls with flour and brown quickly in butter. Add 1 1/2 cups red wine or broth, cover and simmer for 35 minutes. Serve in a chafing dish or a hot casserole.

* I used only ground beef because that's what we had. Don't crowd the pan. Start with a small amount of butter and add more as needed. The browned butter bits are part of what makes this recipe work. Use care to not allow the browned butter to burn and watch carefully, rolling the meatballs around by moving the pan to keep them browning.


We served this recipe with pre-packaged three cheese tortellini and homemade pesto sauce.

Flavor explosion, but a very satisfying combination.

Make these meatballs because James Beard made them, or just because they're dang good.

Wednesday, June 29, 2011

How to grow garlic.

This fall, I will remind you to plant your garlic.

 Garlic is planted 6 weeks before the ground freezes. All winter long, the plant does it's thing, with no help from the gardener. The rows are easily kept weed- free during the spring and summer growing season. Plant in November, harvest in July, save some of your crop to replant again in November. Sounds easy, it is easy.

It's a good thing I learned to garden years before the all mighty internet came along. Various gardening websites make a simple task sound so technical and difficult. Growing plain ordinary garlic is simple. If I were a new gardener searching the internet for gardening tips, there's a good chance I would become discouraged. Instead, I'm going to offer an easy, no fuss method below.

Garlic, just prior to pulling.

This is how I grow garlic.

  • In November loosen a nice area of soil for your garlic to be planted.
  • Break apart a clove of garlic and plant a clove section about 1 inch deep in rows spaced at 3 feet apart and each clove section 8 inches apart.
  • Around the time the ground is covered in snow and the sun peaks through the dark grey skies, you will see garlic growth.
  • Late June/early July the garlic will be ready, the plant tips will yellow.
Sorry, I can't complicate this process for you, by sounding all high-tech. It's a simple task, really.
This fall, when I plant my garlic again, I am going to strive to plant some exotic garlic. Exotic garlic may serve to provide a challenge, and offer a more lively garlic post next July. As of now, take heart, grow some garlic.
Easy, slow and rewarding.
 My kind of crop.

Monday, June 27, 2011

Useful Knowledge

Some Old...Some New
Salem Centennial Cookbook
Salem Mennonite Church
Kidron, Ohio
1886-1986

This cookbook was a score at the price of $2.00. What makes a good cookbook? The recipes, yes, but I enjoy the reading sections found in some books. This book will never leave my collection. For the recipes, and for the cool section with the helpful hints.
One would think after having kept house for almost 30 years, I would be in the category of ; the know it all kid. Guess again, here are a few helpful hints that were new to me. Maybe, they are new to you also.

Baking and Cooking Hints

Plastic bags found in some cereal boxes make excellent freezing bags for freshly baked muffins, bread etc.

Kitchen Aids

Crafters can wash the stiff plastic piece used in bacon packaging in hot sudsy water. Reuse this item when doing small cutting jobs. This is also a good portable cutting board that is easily disposed of at picnics and outings.

Misc. Hints

Cut through sandpaper several times to sharpen scissors.


Another great sections in this cookbook is called 1913 Hints. I'm curious what that will hold. If there's anything interesting, I'll let you in on it!
 Stay Cool!

Sunday, June 26, 2011

Joe Froggers

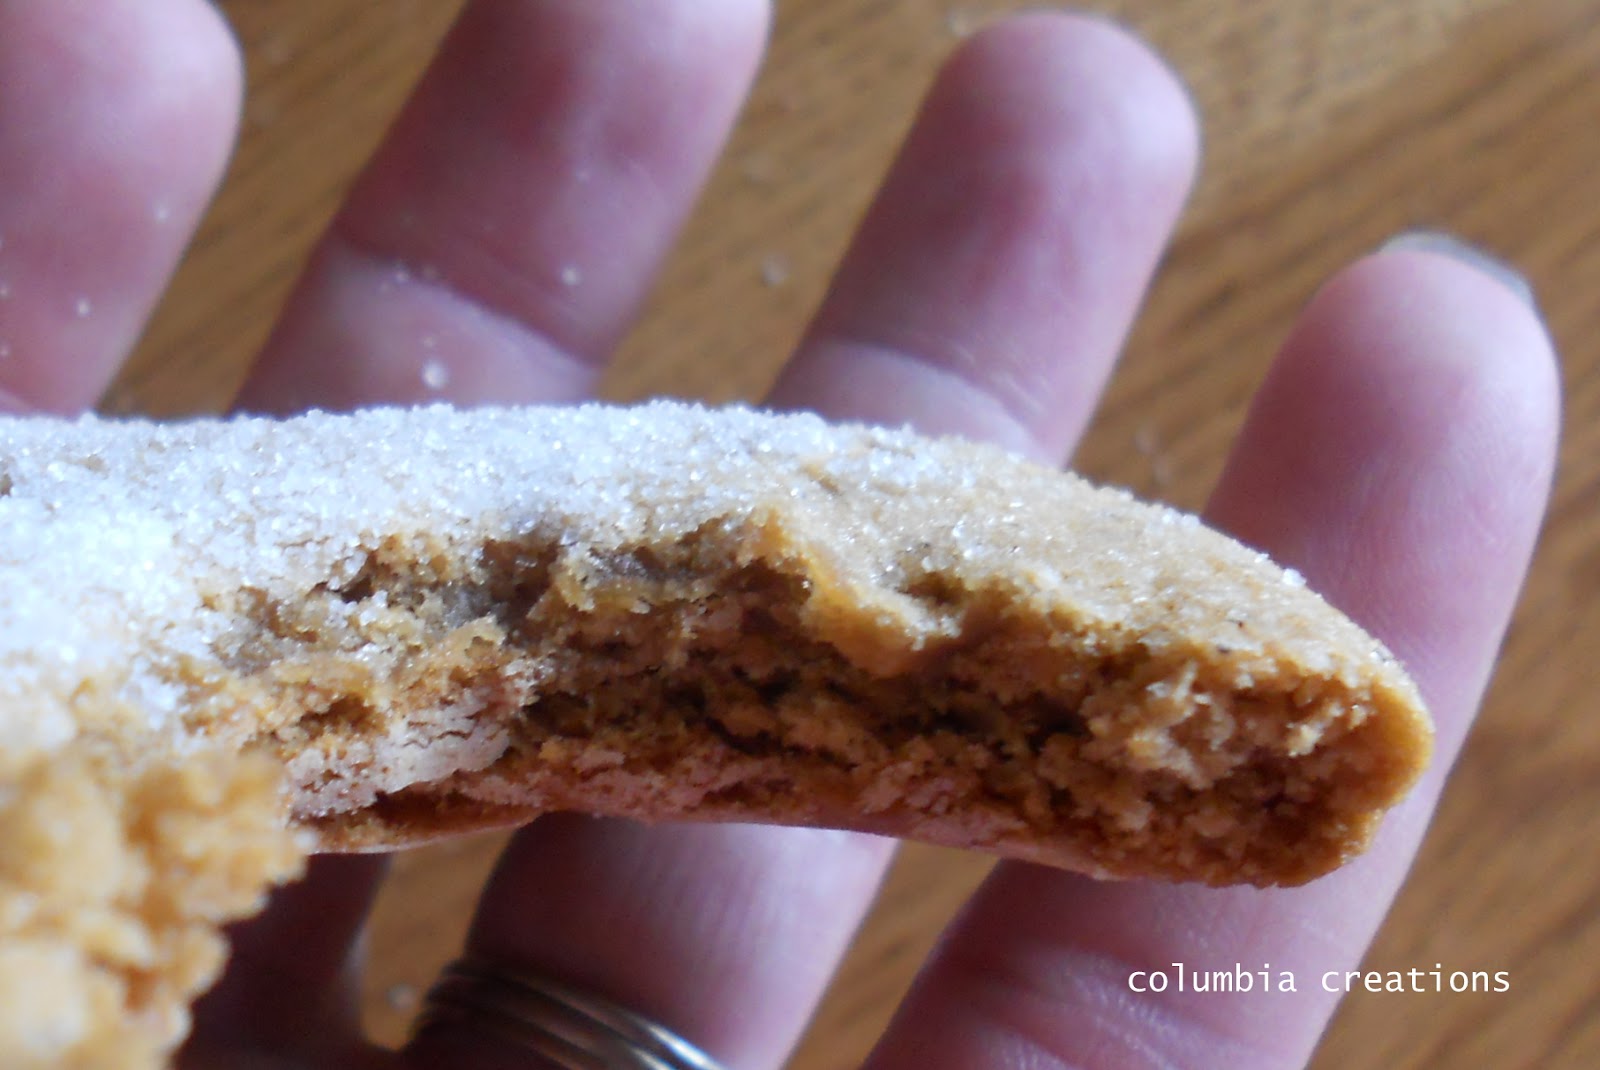
Marblehead Massachusetts was once the home of an old man called Uncle Joe. Frogs, loud big noisy ones, lived in a pond near Uncle Joe. My source tells me, Joe Froggers, originated there. Joe Froggers are a big, fat, soft, molasses type cookie.

It seems New Englanders have a fondness for this cookie. I wonder if the Old Sturbridge Village Bake Shop still makes them?

We ended up with 22 cookies, not the 3-4 dozen the recipe stated. Anyhoo, I liked 'em. I used a parchment paper lined bake sheet rather than a well greased baking sheet. Aside from those insignificant changes, I followed the recipe exactly. Success!


Joe Froggers

1/2 cup shortening
1 cup sugar
1 cup dark molasses
1/2 cup water
4 cups sifted all-purpose flour
1 1/2 tsps. salt
1 tsp. baking soda
1 1/2 tsps. ground ginger
1/2 tsp. each, cloves and nutmeg
1/4 tsp. allspice

Cream together the shortening and sugar. Stir in molasses and water. Sift other dry ingredients with flour: blend into shortening.

Chill dough several hours or overnight. Roll dough 1/4-inch thick on floured board ( oh yeah, we used powdered sugar).

Cut in 3-inch circles. Sprinkle with sugar. Place on a well greased baking sheet. Bake in preheated 375-degree oven 10-12 minutes. (mine were perfect at 11 minutes). Leave on baking sheet a few minutes before removing to prevent breaking.

Store in a covered cookie jar.


I mixed the dough on Wednesday and stashed it in the fridge. Thursday, my helper returned from Grandma's. She rolled, cut, sugared and placed them on the bake sheet!
The green sugar seemed to lend nicely to the name of Joe Froggers, don't you think?


Source:
The Cleveland Press olde time recipes
Barbara Bratel

Thursday, June 23, 2011

Spinach

 Baby Leaf Spinach has come and gone in the garden, for now. Spinach prefers cool weather. The garden doesn't have a huge area designated for spinach, although my fall planting may be larger than the spring row.

The photos were taken on June 9th.

I needed the row for planting my tomatillos which had out grown their pot. As you can see, the spinach plants were just pulled from the ground. The roots make for a nice photo. Left behind was a nice empty row for another vegetable to start maturing.
I sowed the spinach seed directly into the garden on March 17th. On April 14th a few tiny spinach sprouts were visible. By June 9th I was pulling, blanching and freezing a few bags full. Fresh spinach is wonderful and the fall planting will be a welcome sight when fresh greens are needed.


Wednesday, June 22, 2011

Today's Harvest

Time after time, digging potatoes is like unwrapping a gift. The plant is visible but, the earth underneath the plant holds a mystery. How many potatoes will be in this hill? How big will the next potato be? Still, I'm amazed by the folly.

Yukon Gold and Red Potatoes

Our first potato planting this year was on St. Patty's Day. Some people like to have a few drinks on that day. We like to plant our spuds. Each year, about that time, potatoes in my bin are covered with sprouts. Those little sprouting eyes are ready and how can I resist. Last years unused crop becomes this years crop. Love how that works. Essentially, we are talking about free food here people.

Simple
  • Mound up some nicely worked soil into a small hill.
  • Stick a portion of the potato in which an eye is present into the hill
  • Bury the potato.
  • Wait about 3 months and when the plants have flowered, turned yellowish and look like this. Pull those suckers up.


  • Dig below the plant carefully.
  • Behold there are free potatoes in there.
  • Cure the potatoes to store them ***

Look our grade schooler loves digging to find the goods too.


We could have allowed ours to grow a little longer. The timing was right for our schedule to dig them now. Besides, I really don't mind the smaller new potatoes. Overall the average size of each potato was pleasing.

Yipee, 45 pounds of free potatoes came into my kitchen tonight! A conservative estimate of money saved by growing our own potatoes is around $135.00.


**cure potatoes, that is to allow them to sit in a cool dark place for a few weeks to toughen the skin. DO NOT wash them. Simply brush off the surface dirt. The potatoes will store for months.

Tuesday, June 21, 2011

Peas Glorious Peas

A cool weather crop, my peas were planted when the air in Ohio was cold and snow threatened still to fall. I selected Little Marvel Peas because this seed is an early maturing variety. March 17th was the planting date and the first sprouts were seen on April 10th. By the first week of June, we were picking mature peas. On the gratification scale of gardening, peas weigh in very high. Considering the planting time to table time, this crop is a winner.

The seeds were purchased from a local discount store and were 70% off the price of $1.79. I have used less than half of the original seeds. Peas are not an expensive vegetable in the grocery store. However, growing and freezing my own fresh peas, just has a simplicity to it that I can't resist. Round 2 will be planted mid to late August. With cooler weather returning in September, a 2nd harvest will be right on time. Economically speaking, the initial investment of pennies will save me dollars.

Most of my recipes, requiring peas as an ingredient, need one cup or less. I have been blanching and freezing small quantities. I could eat peas with a little butter and pepper, simply as a side dish. Mister, however prefers them hidden in something like Homemade Pot Pie.

This is a great recipe for Barley and Peas.

In my last post there was the mention of the river. We spent 4 days and three night camping along the Mohican. The river was hypnotic.
When I count to three, I will wake-up and return to the real world refreshed and ready to pull weeds in the garden....ugh
The Mohican River

Thursday, June 16, 2011

Garden Update

Slow moving and steadily making progess is my anthem. So, in that fashion garden updates are forth coming.

 Has anyone out there grown Sesame before? If so, please share your techniques and tips with me. I have planted a total of 20 seeds. Only 3 have sprouted. One of which died before forming leaves. The healthy one is moving along so slowly. It seems as if the crop may be perfectly matched to my lifestyle, if indeed slow is the way sesame is suppose to grow. The 3rd plant is barely sprouted. I have planted in intervals and babied each planting. Well, we'll see, I guess.


little sesame


Surely you can guess the strawberries are rockin'.

Peas glorious Peas
Blanched and frozen. A little bit each day, I have harvested the pea crop and noshed on a few right off the vine.


The cabbage red and green are thriving well. The crazy sexy cabbage of last year seems to be performing an encore this summer. Cauliflower and Broccoli haven't formed heads yet. The plants are sturdy and thriving well.
Carrot patch is full of weeds and I'm blaming it on the paper strip in which the seeds were contained. Of course, operator error is always a good possibility. The carrots that were hand sown though are not as weed filled so, what's a girl to think?

We have dug about 5 pounds of Yukon Gold taters already.

I hope your garden is thriving too, or at least you are taking advantage of the local farmers market.

as for me.... I am going down to the river to pray:)
Have a great weekend.

Tuesday, June 14, 2011

Strawberry Bread


My plans to make Strawberry Bread today took me on an extended search. Finding a reliable recipe turned out to be harder than I thought. My stacks of cookbooks, were of no help to me today. I resorted to a google search and found this recipe. I can say this recipe is good enough.
This bread is so easy to whip up and smells like a dream while it's baking. I'm having a second slice for breakfast tomorrow. If you are wondering what to do with 1- 1/2 cups of strawberries then look no further.